How to Setup Samsung Galaxy S Advance as a WiFi Hotspot

I must admit that me being always connected to the internet nowadays is a must. I pretty much consume a lot of web content everyday that if I don't get to check my personal emails, check some local news or probably my social networking accounts would be like skipping a meal or deprived of sleep. I don't have internet connection at my workplace though since management feels it's anti-productivity so I always have my portable 3G modem handy...and there are also times wherein I forget to bring it. Good thing though is that I have my Android smartphone with me which has wifi tethering capabilities to share it's 3G internet connection basically on any wifi capable device.

Here's how to setup your Android smartphone to do wifi tethering or simply turn it into a portable hotspot. The screen shots that I have are from my Samsung Galaxy S Advance with Gingerbread version 2.3.6. Navigation may vary depending on your device and OS version:
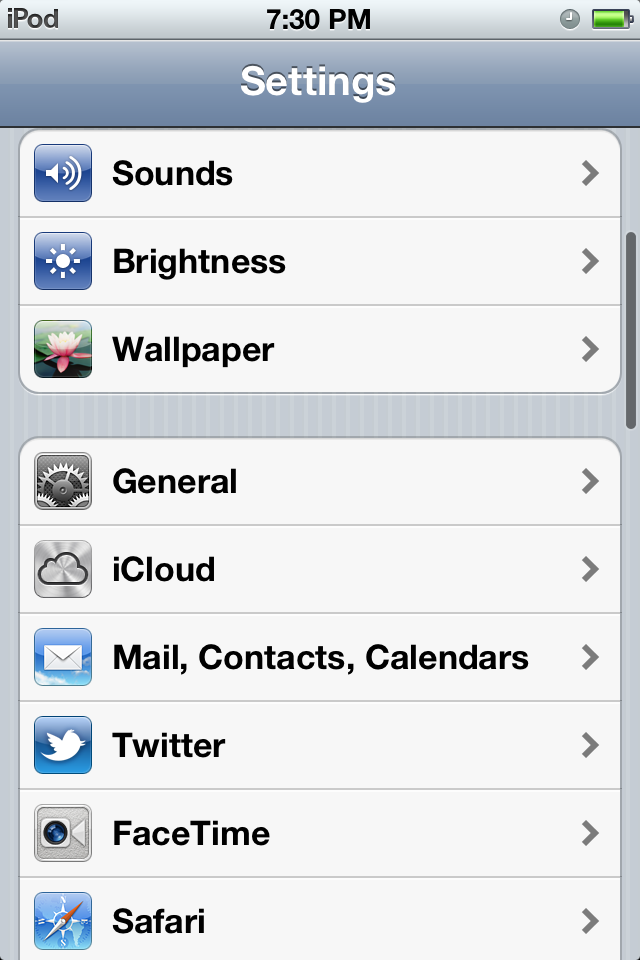
1.  Tap on the Settings icon (I always have mine on the home screen) then Wireless and network


2. Tap on Mobile networks then tick the check box for Use packet data to enable your phone to connect via 3G through your local wireless provider


3. When you see that you are connected to the internet via the notification icons at the top of your screen, go back one step then select Portable WiFi hotspot settings. It will give you a little info regading this feature. Just hit "Ok" and proceed to select Configure portable WiFi hotspot


4. Assign your SSID & password for you to recognize your WiFi signal and to be able to connect later on.


 5. Just hit "Ok" on the next screen and tick the check box Portable WiFi hotspot to use your phone as a portable 3G WiFi router.


There you have it! Your Android smartphone is now configured to share 3G connection via WiFi. All you need to do is turn it on when you need to use it. Always bear in mind that your local carrier's data charges apply. We don't want you using up your load credits or shocked by your phone bill.

How To Enable Assistive Touch on iPhone

Ever since I had been using IOS devices, one major concern that I had was that the home button is the mostly used button on the iphone, ipod touch and the ipad so most likely it's gonna be the first one I'm going to break due to usage. I asked friends and searched the web to get an application that would alleviate the wear and tear on such devices thinking there was something out there but little did I knew that there was a built in function for that. It's the enabling of the Assistive Touch or having a "virtual home button". Here's how:

1. Tap on the Settings icon then hit General


2. Now tap on Accessibility, then Assistive Touch and turn it on 


3. Now you should be able to see a virtual button with a white-colored circle somewhere at the side of your screen. When you tap on it, you'll be given options as to what actions you want to do


Now you don't have to always push the home button just to close applications or go back to your main screen.  With this virtual button you' be able to preserve your device's physical one.


How To Do Disk Cleanup in Windows 7

Earlier I've posted how to do the disk cleanup for for an older OS. Now here's the "how to" for Windows 7.

1.  Click Start > All Programs > Accessories > System Tools > Disk Cleanup. If you have several drives or partitions, you may be prompted to specify which drive you want to clean.

2.  After Disk Cleanup has calculated how much space you can free, in the Disk Cleanup for dialog box, scroll through the list of  Files to delete.


3. Clear the check boxes for files that you don't want to delete, and then hit OK. If you want more options, such as cleaning up System Restore and Shadow copy files, under Description, click Clean up system files, then click the More Options tab

4. When prompted to confirm if you want to delete the specified files, hit Yes.

Again after a few minutes, the process will complete it's cycle and the Disk Cleanup dialog box will close. Just  like that, your computer should be cleaner and better performing.

How To Do Disk Cleanup in Windows XP

Sluggishness or slowing down of your computer could be related to your hard disk drive.To have it running smoothly again, we can free up space since it can identify and safely delete files you no longer need. If you're still a Windows XP user, you may want to try these steps:

1. Click Start > All Programs > Accessories > System Tool >  Disk Cleanup. If you have several drives or partitions, you may be prompted to specify which drive you want to clean.


2.  In the Disk Cleanup for dialog box, scroll through the list of the Files to delete.


3. Clear the check boxes for files that you don't want to delete, and then click OK.

4. When prompted to confirm if you want to delete the specified files, click Yes.

Go through the process and after a few minutes, it completes the cycle and the Disk Cleanup dialog box closes.  Now your computer is cleaner and should be performing better.


How To Troubleshoot : PC Not Turning On


It happens sometimes that whenever you need to use your PC it doesn’t turn on or boot up. In cases like these, you can do some quick checks to initially diagnose what seems to be the problem. Listed below are the usual scenarios:

  1. It doesn’t turn on and there’s no power. Check for adequate power source. Your power cables should be connected properly and firmly at the back of your computer and into the electric socket. If your computer cables are connected to a surge protector make sure it is turned on and connected to a known working electrical outlet as well.
  2. It doesn’t boot up but LED lights are up and you can hear the internal fans running. It’s possible that there are loose connections inside your computer. It’s also possible that your hard drive isn’t working properly.
  3. It has power but doesn’t boot up and you hear beeping sounds coming from within the computer, recall if you’ve encountered power surges, improper restarting of the PC or if there was an additional part added prior to current use. It is possible that there’s hardware conflict or failure and needs further troubleshooting.
  4. If you suspect that there is a problem with the computer’s power button, power supply or any other component, contact your local technician for further diagnosis.

How To Do Security Wipe on Blackberry 9700

We perform factory resets, formats or security wipes to our mobile devices whenever we encounter problems, shaky performance or simply to clean the phone system. Before doing the security wipe, better backup the important files and contacts from your phone and when you're good to go, here's how to do it on the Blackberry 9700:


1. Press the Blackberry Menu Button , select Open Tray then navigate and select the Options icon


2. In the Options screen, scroll down to Security then select Security Wipe


3. In the next screen, you'll be asked what data objects you want to erase. Just tick the check box of what ever you'll be wiping out. In this case, I just want to erase emails, messages and contacts. You'll need to also key in the word "blackberry" as added confirmation & security before hitting the Wipe Data button.


4. This is how it looks like while the security wipe is underway. When it's done , your phone will just reboot. Wait for it to finish as it may ask you some minor initial setup configurations since you're now starting from a fresh system. 

You're done basically. Just an additional thing would be is that if you want to transfer contacts from your SIM card to your phone if you did the security wipe with a SIM module inside. 

How To Format Your Android Phone

This is how to format or factory reset your android device. The screen shots provided were from my Samsung Galaxy S Advance when I did the factory reset procedure to clean up my phone memory. 

1.   Open your device's Settings then tap on Privacy


2. Since I didn't really have anything on my phone, i just proceeded with Factory data reset

3. Read the text on your screen just to make sure you understood what you're about to do then tick the check box for Format USB storage to clean everything then tap on the Reset phone button. If you have an unlock pattern (for security against unauthorized use) just like me, just unlock it to confirm the reset activity.

4. You'll get one more screen to confirm the reset. Just tap on the Erase everything button to begin the format.  

The phone will then perform the factory reset and it will also reboot itself. When it finishes restarting , your Android device will be clean and as good as new. You can then begin setting it up and install the apps that you want. 


How To Use The Find My iPhone App

Here's how you can set it up in your iPhone, iPod Touch or iPad but first you need to have these:


Pre-requisites: 
1.You should have an Apple account
2. Find My iPhone app should have been installed
3. The target device should be connected to the internet via Wi-Fi or network provider's data connection


If all these are met then here's what we need to do:


1. Tap on your "Find My iPhone" app and it should tell you to log into your Apple account.


2. After you've successfully keyed in your log in credentials, you should be then taken to the main screen and   be able to view a map indicating the location of your device or whatever device you're tracking.


3. If you click on "Devices" at the top - left corner, you'd be able to see a listing of all your added devices. 


4. If you want to do some additional actions on your remotely tracked device, click on the right arrow and it will show you another window where you can do just that. 


Whether you lent it to a friend,  lost it, got stolen then you can do any of these actions. Pretty helpful especially stolen devices as you can remotely format it to protect confidential content. 


How To See Hidden Android Art

I saw this in on of my favorite sites and I thought I just had to share this. It's how to look for and view the hidden Android art / picture.

1. Go to your android phone's settings and select "About Phone"

2. Look for the "Android Version" and quickly tap on it 3-4 times.


3. If you got it right then you should be seeing it now. Here's what appeared on my screen


That's about it; for this post I tried it  my Samsung Galaxy S Advance and Galaxy Y and it showed the same art work. I've also tried it on the Samsung Galaxy S3 and it showed a different picture. I hope you enjoy doing this one

How to Setup Mail for Exchange in IOS Devices

Here's how you can setup email for Exchange in IOS devices - iPhone, iPod Touch & iPad. Let's start by having your device ready and tap on the Settings widget.


Next, tap on Mail, Contacts, Calendars


You'll now see the emails accounts that you have. Now to add your email, tap Add Account


Select Microsoft Exchange


Now you have to enter your log in credentials and server details. You can get this info from your company's IT guys if you're not sure.

Make sure your log in details are correct otherwise you'll have trouble connecting. After the successful log in, you can now personalize your email settings. 


Basically that's it! You can now sync and check your work emails in your mobile device. Hopefully it would be as useful to you as it was to me.

How to Prevent Invalid Data Entry in MS Excel 2010


We can prevent invalid data from being entered into a cell when using Microsoft Excel 2010. You can reject invalid entries and also force entries to be chosen from a dropdown list of values that the author specified. Here’s how you do it.

         1.      Open up your working spreadsheet file.
         2.       Point to the cell that you want to have data validation.
         3.       Click on the Data tab >  Data Validation  > Data Validation


         4.   You should be able to see the available validation options that you can use.


         5.        The validation parameters that I've set as an example are shown in the screen shot below. 


      Now you have a simple checking tool to see if you're inputting the correct values into your excel files. I hope this is as useful to you as it was to me.